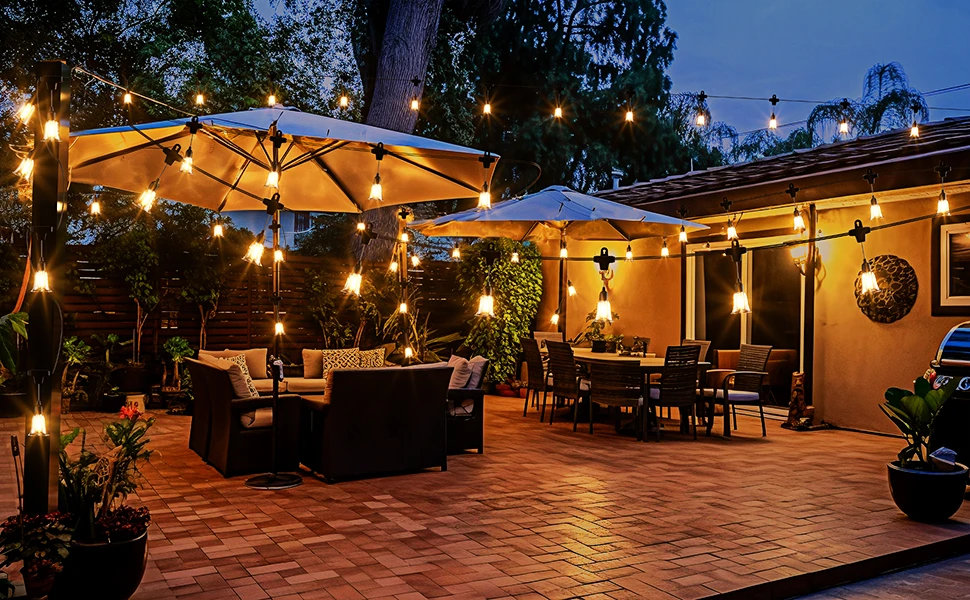
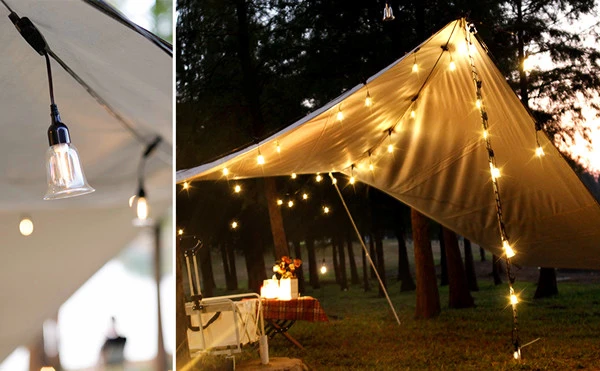
Solar LED strip lights offer a versatile, energy-efficient solution for illuminating outdoor spaces, from patios to pathways. Powered by sunlight, these flexible strips combine sustainability with customizable lighting, making them ideal for enhancing aesthetics and functionality. This guide covers practical installation techniques, methods to boost charging efficiency, brightness and mode adjustments, maintenance for durability, and safe splicing and expansion practices.

Practical Installation Techniques for Various Settings
Installing solar LED strip lights requires careful planning to ensure both functionality and visual appeal. Their flexibility allows them to adapt to diverse environments, such as wrapping around deck railings in a Seattle backyard or lining a garden pathway in Phoenix.
For flat surfaces like fences or walls, use adhesive backing or mounting clips to secure the strips. In a Miami coastal home, stainless steel clips resist corrosion from salty air. Ensure the surface is clean and dry before adhesion to prevent peeling. For curved surfaces, like tree trunks in a Denver garden, choose flexible strips with a high bend radius and secure them with weatherproof ties or clips at regular intervals—every 12 to 18 inches—to maintain shape.
For ground applications, such as outlining a Chicago patio, use stakes or channel guides to keep strips in place. Burying strips in shallow trenches can create a sleek look, but ensure they’re rated for ground contact (IP65 or higher). In rural Iowa farms, wrapping strips around barn beams can highlight architectural features, but avoid overstretching to prevent wire damage.
Position the solar panel in a location with direct sunlight exposure for at least six hours daily. Mount it on a roof, pole, or south-facing wall to maximize charging. In urban settings like Atlanta, avoid shadows from nearby buildings or trees. Test the setup over a few days to confirm consistent performance.
Optimizing Charging Efficiency Through Angle Adjustments
The charging efficiency of solar LED strip lights depends on the solar panel’s ability to capture sunlight. Proper angle adjustments can significantly improve performance, especially in regions with varying sunlight patterns.
In areas with high sun angles, like Phoenix, tilt the panel 15 to 30 degrees toward the south to capture maximum sunlight. Use adjustable mounts to fine-tune the angle seasonally—lower in winter, higher in summer. In cloudier regions, such as Portland, a steeper angle (30 to 45 degrees) helps shed debris like leaves or snow, ensuring consistent charging.
Clean the panel regularly to remove dust or pollen, which can reduce efficiency by up to 20%. In coastal Miami, rinse panels monthly to clear salt buildup. If permanent mounting isn’t possible, portable panels with adjustable stands allow flexibility for renters in cities like Chicago.
Some advanced solar LED strip lights include dual-axis trackers that automatically adjust to follow the sun’s path, ideal for maximizing energy in rural settings like Iowa fields. For fixed setups, check the panel’s orientation monthly to account for seasonal sun shifts. Avoid placing panels near reflective surfaces that could cause overheating, such as metal roofs in Las Vegas.
Adjusting Brightness and Modes for Optimal Use
Solar LED strip lights offer customizable brightness and lighting modes to suit different needs, from subtle ambiance to bright task lighting. Balancing these settings ensures energy efficiency and extends battery life.
Brightness, measured in lumens, typically ranges from 100 to 500 lumens per strip. For decorative purposes, like outlining a Houston patio, 100–200 lumens creates a warm glow. For functional lighting, such as illuminating a Seattle driveway, opt for 300–500 lumens. Many models allow dimming to conserve power, especially during long winter nights in Minneapolis, where nights can exceed 14 hours.
Lighting modes vary, including steady, flashing, or color-changing options. For a festive setup in a Denver backyard, color-changing modes can enhance holiday displays. Motion-sensor modes, common in advanced strips, increase brightness when activity is detected, saving energy during idle hours. In busy Atlanta neighborhoods, set the motion range to 10–20 feet to avoid triggering from street activity.
To optimize settings, test different modes over a few nights. If the battery drains too quickly, reduce brightness or shorten active hours. Some models include timers to limit operation, such as turning off after midnight. Regularly check the battery’s charge level, as capacity can degrade in extreme temperatures, affecting brightness consistency.

Daily Maintenance for Waterproofing and Anti-Aging
Maintaining solar LED strip lights ensures longevity, especially in harsh outdoor conditions. Waterproofing and anti-aging measures protect the strips from environmental wear.
Choose strips with an IP65 or higher rating for water and dust resistance. In rainy Seattle, inspect seals around connectors and panels monthly to prevent water ingress. Apply silicone sealant to exposed connections for added protection. In snowy Minneapolis, clear snow gently with a soft brush to avoid damaging the strip’s casing or solar panel.
UV exposure can degrade plastic casings over time, especially in sunny Phoenix. Select strips with UV-resistant coatings or silicone sleeves to slow aging. Clean strips with a damp cloth to remove dirt or pollen, avoiding abrasive cleaners that could scratch the surface. In coastal Miami, rinse strips to remove salt, which can corrode internal wiring.
Check battery health annually, as extreme temperatures can reduce capacity. In hot Las Vegas climates, store spare batteries in a cool, shaded area to extend lifespan. Replace batteries every 2–3 years, depending on usage. Inspect mounting hardware for rust or loosening, especially in windy coastal areas, and tighten or replace as needed.
Safe Splicing and Expansion Guidelines
Expanding or splicing solar LED strip lights allows for customized lengths and layouts but requires careful handling to ensure safety and performance. Follow manufacturer guidelines to avoid electrical issues.
Before splicing, disconnect the power source to prevent shocks. Use compatible connectors or soldering kits designed for the specific strip model. In a Houston backyard, splicing strips to outline a pergola requires weatherproof connectors to protect against humidity. Seal connections with heat-shrink tubing or silicone to ensure waterproofing.
When extending strips, check the controller’s power capacity. Most solar LED strip lights support extensions up to 16–32 feet, but exceeding this can dim the lights or strain the battery. In a large Iowa farm setup, use a secondary solar panel and controller for longer runs to maintain brightness.
Ensure polarity matches when connecting strips—positive to positive, negative to negative. Test the setup after splicing to confirm uniform lighting. In urban Chicago installations, avoid running strips near heat sources like grills, which can damage wiring. Secure extended strips with additional clips or ties to prevent sagging, especially in windy Denver areas.
For complex layouts, sketch a plan to map power distribution. In a Miami garden, combining straight and curved sections requires precise measurements to avoid overloading the system. If combining multiple colors or modes, ensure the controller supports the configuration to prevent flickering or power issues.
Conclusion
Solar LED strip lights provide a sustainable, flexible solution for outdoor lighting, enhancing both aesthetics and functionality. By mastering installation techniques, optimizing charging angles, adjusting brightness and modes, maintaining durability, and following safe splicing practices, users can create stunning, reliable lighting setups. Whether illuminating a rural Iowa barn or a bustling Atlanta patio, these lights deliver eco-friendly performance tailored to any environment.

Comments