
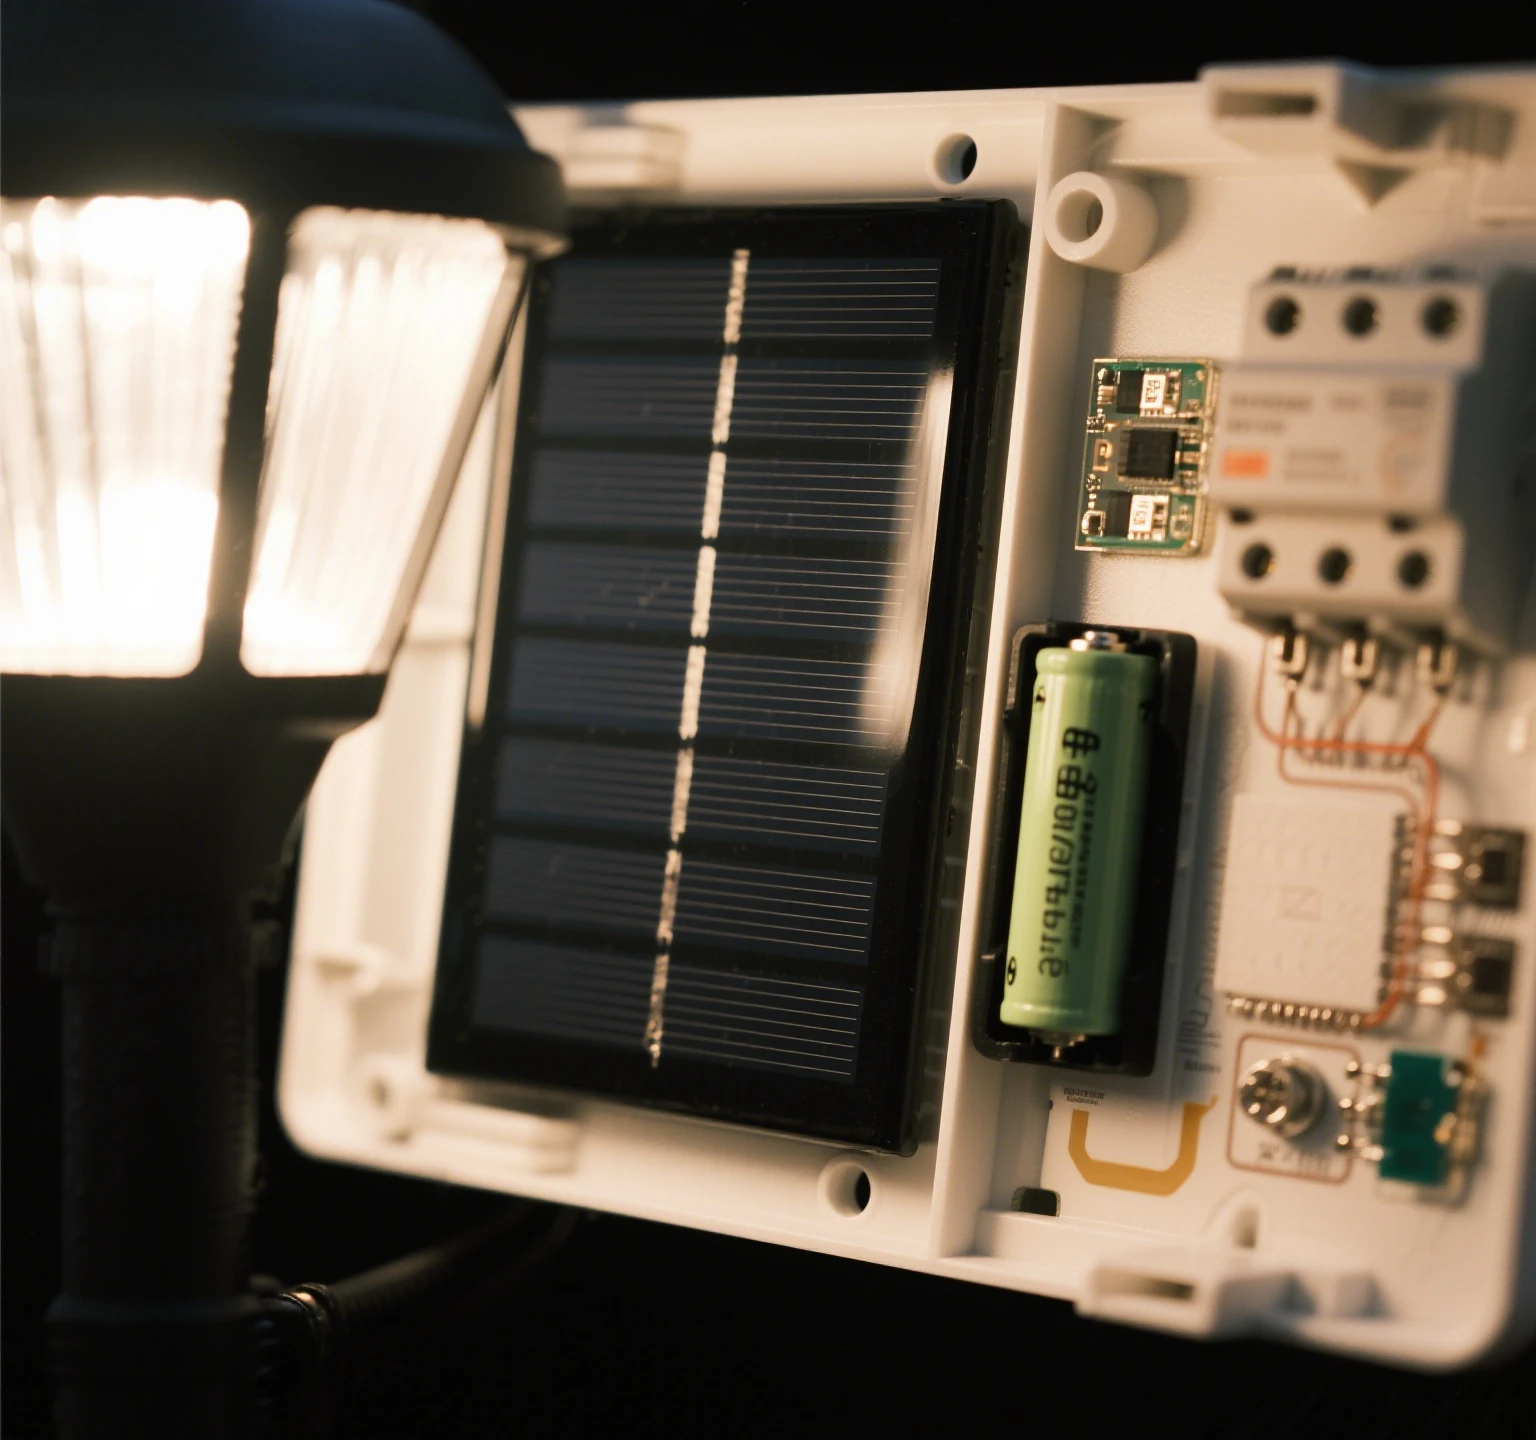
Hey folks, as a tech enthusiast who’s spent years tinkering with outdoor gadgets, I’ve seen it all when it comes to solar lamps. Picture this: You and your neighbor both leave your solar lamps out in the sun all afternoon, soaking up those rays. Come nightfall, their yard is lit up like a cozy lantern festival, glowing steadily until dawn. Yours? It barely manages three hours before dimming into darkness. Frustrating, right? That “suns all day but won’t light the night” puzzle boils down to one key player: the solar panel.
Think of it as the “energy source” for your lamp—it’s what gobbles up sunlight during the day to power those LEDs after dark. When your solar panel efficiency is high, your lamp’s battery charges better, leading to longer runtime. But when it’s low, you’re left scratching your head. In this guide, I’ll break it down simply, no jargon overload, and share practical tips to boost that efficiency. We’ll cover types of panels, what drags them down, and easy hacks to make yours perform like a champ. Tailored for North American folks, from rainy Pacific Northwest backyards to sunny Southwest patios—let’s dive in and turn your solar lamp into a reliable night owl.
Understanding Solar Lamp Solar Panel Types: Picking the Right One for Your Setup
Not all solar lamp solar panels are created equal. They’re made from different silicon materials, each with its own strengths in “eating” sunlight and turning it into stored energy. The type you choose can make a huge difference in solar panel efficiency, especially depending on your local weather and lamp style. Let’s compare the big three—monocrystalline, polycrystalline, and amorphous silicon—using real-world examples for North American climates.
- Monocrystalline Silicon Panels: These are the premium performers, boasting solar panel efficiency rates of 18%-22%. They’re crafted from a single, pure silicon crystal, which lets them gobble up sunlight more effectively, even on cloudy days. Ideal for areas with variable weather, like the rainy Pacific Northwest (think Seattle or Portland), where overcast skies are common. If you’ve got a larger yard lamp or garden spotlight that needs consistent charging, this is your go-to. For instance, in a drizzly courtyard setup, a monocrystalline panel can still pull in enough energy to keep your lights on for 8-10 hours, outlasting cheaper options that fade fast in low light.
- Polycrystalline Silicon Panels: Stepping down a notch, these hit efficiency levels of 15%-18%. Made from multiple silicon crystals melted together, they’re a bit less picky about perfect conditions but shine in strong, direct sunlight. Perfect for sun-drenched regions like the Southwest (Arizona or New Mexico deserts), where you might have pathway lights lining a driveway. They’re more affordable and robust for everyday use, but they might underperform in shaded or rainy spots. In a bright, open path setup, expect solid charging that translates to 6-8 hours of glow time without much fuss.
- Amorphous Silicon Panels: These are the flexible underdogs, with efficiency around 8%-12%. Unlike the rigid crystal types, they’re thin-film and can bend, making them great for oddly shaped decorative lamps—like those whimsical string lights or wall-mounted accents. They handle diffuse light well, so they’re handy in partially shaded areas or for portable setups. However, in harsh North American winters or intense summer heat, they might not charge as deeply. Use them for creative installs where form matters more than max power, but pair with good habits to avoid short runtimes.
Choosing the right type isn’t just about specs—it’s about matching your environment. In the rainy Northwest, I’d lean toward monocrystalline for reliability; in the sunny Southwest, polycrystalline offers bang for your buck. No matter what, remember: Higher solar panel efficiency means your lamp’s battery fills up faster and fuller, banishing that “why won’t it last?” headache.
Key Factors Affecting Solar Panel Efficiency: What’s Sabotaging Your Charge?
Even with a top-tier solar panel, efficiency can tank if you ignore a few basics. These panels are like hungry plants—they need the right installation angle, cleanliness, and clear access to sunlight to thrive. Let’s unpack the main culprits and tie in North American specifics to help you optimize.
- Installation Angle: Getting the Tilt Just Right
The installation angle at which your solar panel faces the sun is crucial for max sunlight intake. In most North American latitudes (around 30°-50°), aim for a 45° tilt facing south to catch peak rays year-round. Why south? It aligns with the sun’s path in the Northern Hemisphere. For example, in the Midwest or Northeast, this setup can boost solar panel efficiency by 20-30% compared to a flat install. In the Southwest with its intense sun, a slight adjustment to 30°-40° might prevent overheating. Imagine the panel propped up like a ramp, tilted toward the southern sky. Use adjustable mounts or even DIY props like bricks for fixed lamps. Test it: On a sunny day, note how shadows move—if your panel stays lit longest at 45°, you’re golden. Poor installation angle is a top reason lamps charge slowly, so nail this for longer nights. - Cleanliness: Keeping Dust and Grime at Bay
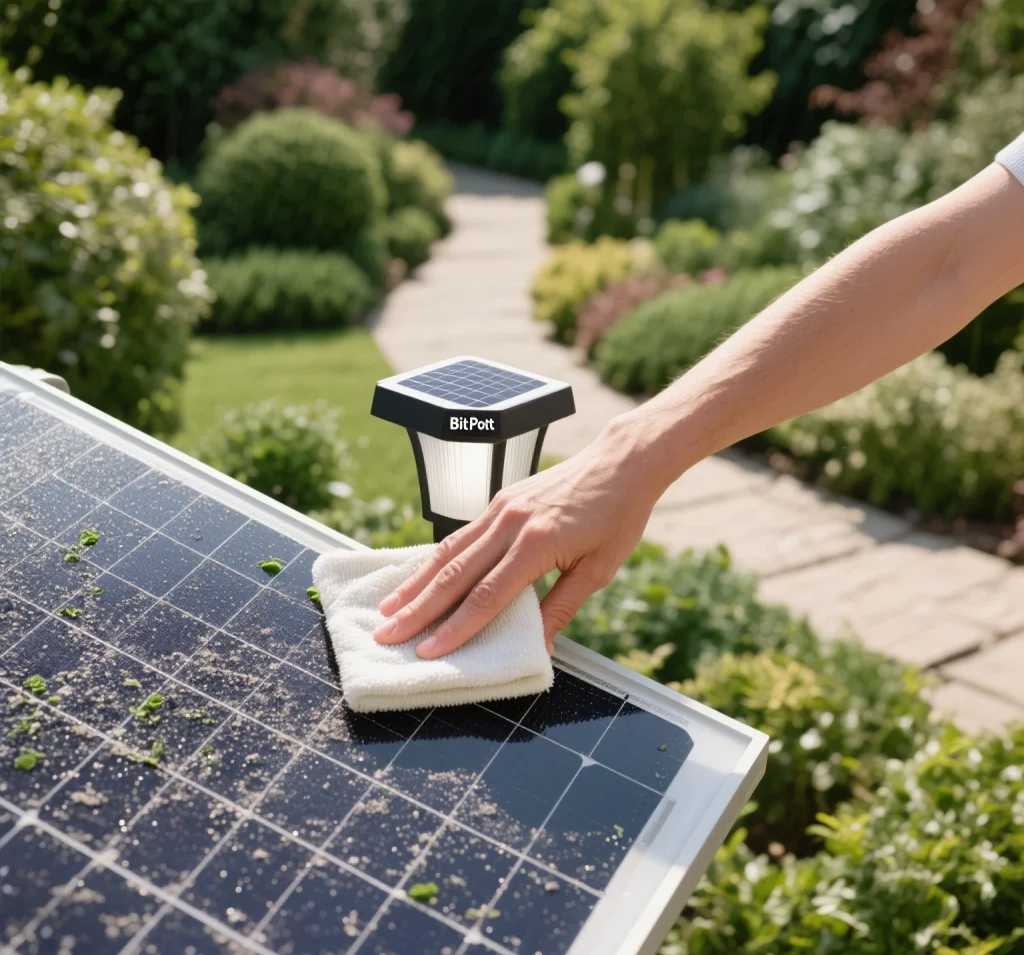
Dirt is a silent killer for solar panel efficiency. A thin layer of dust, pollen, or bird droppings can block up to 30% of sunlight, turning your panel into a picky eater. In dusty Southwest areas like Las Vegas, this builds up fast from wind; in the Northwest’s rainy zones, it’s more about moss or leaves post-storm. Monthly wipes with a soft cloth and mild soap (no abrasives!) can restore full potential. Pro tip: After a rain, give it a quick rinse—nature helps, but don’t rely on it. Clean panels mean fuller batteries, especially in urban spots with pollution. - Shading: Avoiding Those Pesky Blockers
Even partial shade from trees, buildings, or overhangs can slash efficiency by 50% or more, as it disrupts the panel’s uniform sunlight feast. In wooded Northwest suburbs, tree shadows are common culprits; in open Southwest landscapes, it’s often nearby structures or seasonal foliage. Scout your spot: Observe sunlight patterns from dawn to dusk and relocate if needed. Trim branches or use extenders to elevate panels above obstacles. Remember, shade isn’t just total blackout—intermittent flickers from leaves can confuse the charging circuit, leading to inconsistent performance.
Addressing these factors turns average setups into efficiency machines. In my tests, tweaking installation angle alone extended a lamp’s runtime from 4 to 7 hours. Combine them, and you’re looking at all-night illumination without extra costs.
Practical Tips to Boost Solar Panel Efficiency: Hands-On Hacks for Better Performance
Now that we’ve covered the basics, let’s get actionable. As a tech blogger, I love sharing real-world tweaks that anyone can do—no engineering degree required. These techniques focus on enhancing your solar lamp solar panel’s ability to “eat” more sunlight, tailored to North American seasons and regions.
- Apply Anti-Reflective Coatings or Films
Stick on a transparent film designed for solar panels—it can increase solar panel efficiency by about 5% by reducing glare and letting more light in. Available at hardware stores or online (think Amazon basics), these are peel-and-stick for quick application. In the bright Southwest, this counters intense reflections; in cloudy Northwest, it amplifies weak rays. Apply on a clean panel for best results—I’ve seen it add an extra hour of light on marginal days. - Winter-Specific Maintenance: Clear Snow and Ice
For snowy North American winters (hello, Midwest and Northeast), accumulation on panels is a big drag. Gently brush off snow with a soft broom—avoid scraping to prevent scratches. In sub-zero temps, a quick warm water rinse (not hot!) can melt ice without damage. This keeps efficiency humming even in short daylight hours, ensuring your path lights don’t quit early. - Seasonal Angle Adjustments
Go beyond static 45°: In summer, tilt shallower (30°) for high sun; in winter, steeper (60°) for low angles. Use adjustable brackets—cheap and effective. For Northwest’s variable weather, this adaptability means consistent charging; Southwest users might skip if sun is reliable, but it’s worth it for peak performance. - Battery and Wiring Checks
While not directly on the panel, ensure connections are clean and batteries aren’t degraded (replace every 2-3 years). Loose wires can waste charged energy, mimicking low efficiency. - Smart Placement Strategies
Mount higher on poles to dodge ground-level shade. In urban areas, avoid streetlight interference at night, which can trick sensors. Group lamps for mutual shading checks.
These tips are low-effort, high-reward. Implementing just two—like cleaning and angle tweaks—can eliminate that “suns forever, lights never” frustration. In the rainy Northwest, focus on coatings and cleanliness; in sunny Southwest, prioritize shade avoidance and adjustments.
Wrapping It Up: Efficiency Is in Your Hands
At the end of the day, your solar lamp solar panel’s efficiency isn’t just about what you buy—it’s how you install and maintain it. As the core “energy source,” a well-tuned panel means brighter, longer-lasting lights that enhance your outdoor space without hiking your electric bill. Whether you’re dealing with Pacific Northwest drizzles or Southwest scorchers, small changes like optimal installation angle, regular cleanliness, and shade-proofing pay off big. I’ve shared these as a fellow tech geek because I’ve been there, fixing my own setups and helping neighbors. Experiment, track your lamp’s performance (maybe jot down charge times), and you’ll see the difference. Got questions? Drop them in the comments—let’s geek out on making solar tech work smarter for everyone.
Comments