

Outdoor lighting enhances the beauty and safety of gardens, pathways, and patios, and connecting outdoor lights to a solar panel offers an eco-friendly, cost-effective solution. Whether you’re upgrading existing lights or creating a custom setup, understanding how to connect outdoor lights to solar panel is key to achieving reliable performance. This comprehensive guide walks you through the process, providing practical steps, innovative tips, and insights to ensure your outdoor space shines brightly.
Why Choose Solar Panels for Outdoor Lighting?
Solar panels convert sunlight into electricity, storing it in batteries to power lights at night. This eliminates the need for complex wiring or reliance on grid electricity, making it ideal for remote areas or sustainable living. LED solar powered lighting is particularly efficient, using low-energy LEDs to maximize brightness while conserving battery life. Similarly, motion solar sensor lights enhance security by activating only when movement is detected, saving energy. Connecting outdoor lights to a solar panel allows flexibility in placement and reduces environmental impact, perfect for gardens or driveways.
Tools and Materials Needed
Before diving into how to connect outdoor lights to solar panel, gather the following:
- Solar Panel: Choose a monocrystalline panel (5-20 watts) for efficiency, especially for LED solar powered lighting.
- Rechargeable Battery: NiMH or lithium-ion (1000-3000mAh) to store energy.
- Charge Controller: Regulates power flow to prevent overcharging.
- Outdoor Lights: LEDs or motion solar sensor lights for energy efficiency.
- Wires and Connectors: Weatherproof wires (12-16 AWG) and MC4 connectors.
- Mounting Hardware: Brackets or stakes for the solar panel.
- Tools: Screwdriver, wire cutters, strippers, multimeter, and soldering kit (optional).
- Waterproof Sealant: Silicone or epoxy for weatherproofing connections.
Step-by-Step Guide to Connecting Outdoor Lights to a Solar Panel
Step 1: Select the Right Solar Panel
Choose a solar panel with sufficient wattage to power your lights. For LED solar powered lighting with low lumen output (50-200 lumens), a 5-10 watt panel suffices. For motion solar sensor lights with higher output (800+ lumens), opt for a 15-20 watt panel. Ensure the panel’s voltage (typically 12V) matches your battery and lights. Monocrystalline panels are ideal for cloudy regions, offering better low-light performance.
Step 2: Position the Solar Panel
Place the solar panel in a location with maximum sunlight exposure, ideally south-facing (in the Northern Hemisphere) at a 30-45° angle. For LED solar powered lighting along pathways, mount the panel on a pole or roof to avoid shading from trees or structures. Use a sturdy bracket to secure it against wind or storms, especially in coastal areas.
Step 3: Install the Charge Controller
Connect the solar panel to a charge controller to regulate power flow. Most controllers have labeled terminals for the solar panel, battery, and load (lights). Attach the solar panel’s positive and negative wires to the controller’s input terminals, ensuring polarity is correct. This step is crucial for motion solar sensor lights, as it prevents battery damage from overcharging during peak sunlight hours.
Step 4: Connect the Battery
Link the battery to the charge controller’s battery terminals, matching positive to positive and negative to negative. Use weatherproof connectors to protect against moisture, especially for outdoor setups. For LED solar powered lighting, a 12V lithium-ion battery with 2000mAh capacity supports consistent performance. Test connections with a multimeter to confirm proper voltage (e.g., 12-14V when charging).
Step 5: Wire the Outdoor Lights
Connect your motion solar sensor lights or other outdoor lights to the charge controller’s load terminals. Use 12-16 AWG wires to minimize voltage drop over long distances. For LED solar powered lighting, ensure the lights’ voltage matches the system (typically 12V). If wiring multiple lights, use a parallel circuit to maintain consistent brightness. Secure connections with waterproof connectors or sealant to protect against rain or humidity.
Step 6: Test the System
Turn on the system and test during daylight to ensure the panel charges the battery. At night, verify that the motion solar sensor lights activate correctly or that LED solar powered lighting illuminates as expected. Use a multimeter to check battery voltage (e.g., 12.6V for a fully charged lithium-ion battery) and troubleshoot any issues, such as loose connections or mismatched components.
Safety and Installation Tips
- Check Polarity: Incorrect wiring can damage components. Always double-check positive and negative connections.
- Weatherproofing: Use IP65-rated components and seal all connections with silicone to protect LED solar powered lighting from moisture.
- Grounding: For larger systems, ground the solar panel and battery to prevent electrical hazards.
- Avoid Overloading: Ensure the solar panel’s wattage supports the total lumen output of your motion solar sensor lights.
Customizing for Different Outdoor Lighting Needs
Pathway and Garden Lighting
For pathways, LED solar powered lighting with 50-200 lumens provides safe, aesthetic illumination. Connect multiple low-wattage lights to a single 10-watt panel, spacing them 6-8 feet apart. Use a charge controller with a dusk-to-dawn sensor to automate operation, ideal for garden settings.
Security and Area Lighting
For security, motion solar sensor lights with 800-2000 lumens are ideal. Pair them with a 20-watt panel and a high-capacity battery to ensure bright, reliable performance. Position the panel high to avoid vandalism, and adjust the motion sensor’s sensitivity to avoid false triggers from pets or wind.
Innovative Enhancements for Solar Lighting Systems
To make your setup stand out, consider these unique ideas:
Modular Panel System
Create a modular setup with detachable solar panels using extension cables (10-20 feet). This allows you to place the panel in a sunny spot while installing LED solar powered lighting in shaded areas, perfect for urban gardens with limited sunlight.
Smart Control Integration
Incorporate a smart charge controller with Bluetooth or Wi-Fi to monitor battery levels and adjust motion solar sensor light settings via an app. This is useful for large properties, allowing remote control of brightness or schedules.
DIY Reflective Boosters
Enhance the brightness of LED solar powered lighting by placing reflective surfaces (e.g., white stones or mirrors) around lights. This amplifies light output without increasing power demands, ideal for pathways or patios.
Seasonal Storage Solution
In regions with long winters, like northern Canada, store motion solar sensor lights indoors during off-seasons. Use a portable solar charger to maintain battery health, ensuring lights are ready for spring installation.
Troubleshooting Common Issues
- Dim or No Light: Check battery charge and clean the solar panel. Ensure the panel receives 6-8 hours of sunlight daily.
- Flickering Lights: Inspect wiring for loose connections or corrosion, especially in LED solar powered lighting exposed to humidity.
- Motion Sensor Issues: Adjust the sensor’s range or sensitivity for motion solar sensor lights, and ensure no obstructions block the sensor.
Choosing the Right Components
When selecting components, prioritize quality and compatibility:
- Solar Panels: Brands like Renogy offer reliable 10-20 watt panels for LED solar powered lighting. For motion solar sensor lights, consider panels with built-in mounting brackets.
- Batteries: Opt for lithium-ion batteries for longer lifespan and better performance in cold climates.
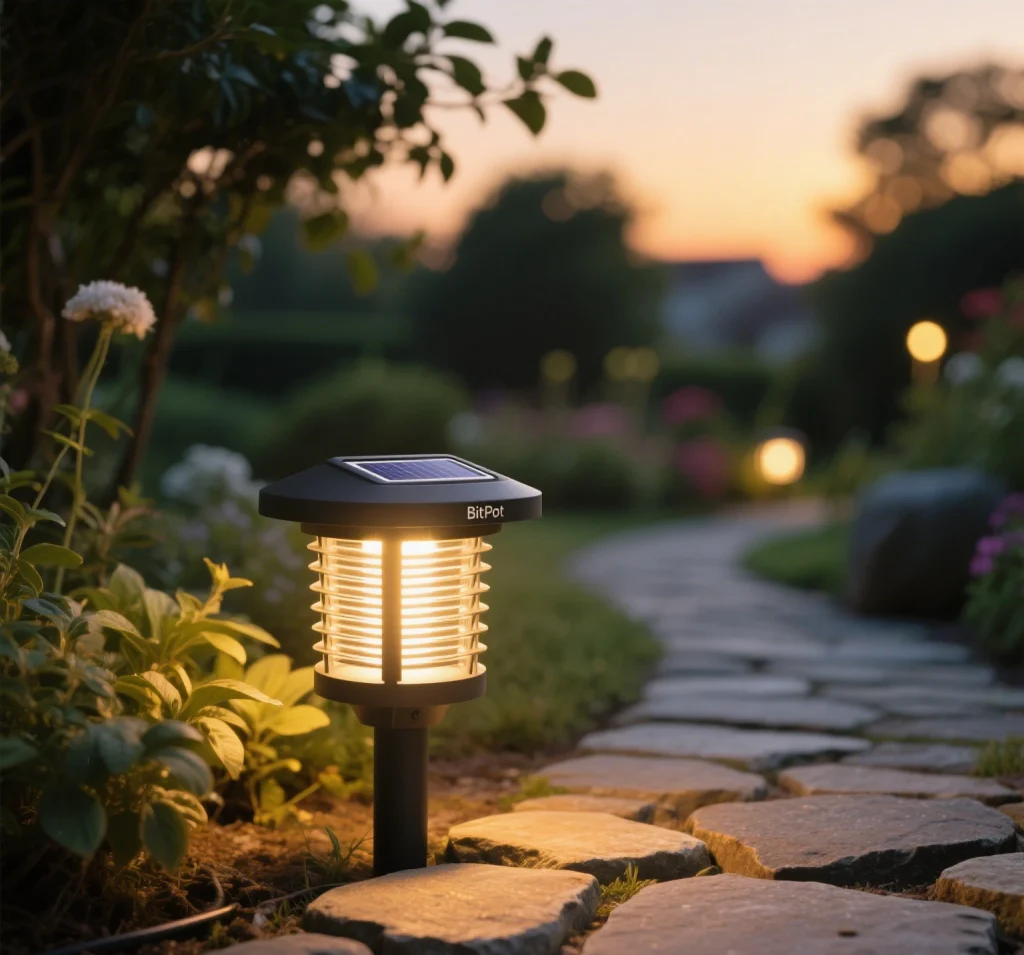
- Lights: Bitpott’s motion solar sensor lights offer durable, high-lumen options for security, while their LED solar powered lighting suits decorative needs.

Environmental and Regional Considerations
Solar-powered systems are eco-friendly, reducing energy costs and carbon footprints. In sunny regions like Arizona, a 10-watt panel can fully charge LED solar powered lighting in 6 hours. In cloudy areas like the UK, opt for larger panels and batteries to support motion solar sensor lights. Choose durable, IP65-rated components to withstand harsh weather, minimizing replacements.
When to Seek Professional Help
If connecting outdoor lights to a solar panel feels daunting, consult a professional electrician for complex setups, especially for highest lumens solar lights requiring high-wattage panels. They can ensure proper wiring, grounding, and compliance with local regulations.
Conclusion
Learning how to connect outdoor lights to solar panel empowers you to create a sustainable, versatile lighting system for your outdoor space. By selecting the right components, following proper installation steps, and incorporating innovative enhancements, you can enjoy reliable LED solar powered lighting and motion solar sensor lights. Whether illuminating a garden path or securing a driveway, this guide equips you to build an eco-friendly lighting solution tailored to your needs.
Comments