
Installing solar deck lights on your deck stairs enhances safety and adds a touch of elegance to your outdoor space. These solar-powered stair lights are eco-friendly, cost-effective, and require no wiring, making them perfect for DIY enthusiasts. This comprehensive guide provides step-by-step instructions, essential tools, practical tips, and common mistakes to avoid when installing solar stair lights, using Bitpott’s Solar Step Lights as a reliable example. Whether you’re illuminating a new or existing deck, this guide will help you create functional and attractive outdoor stair lighting.
Why Choose Solar Lights for Deck Stairs?
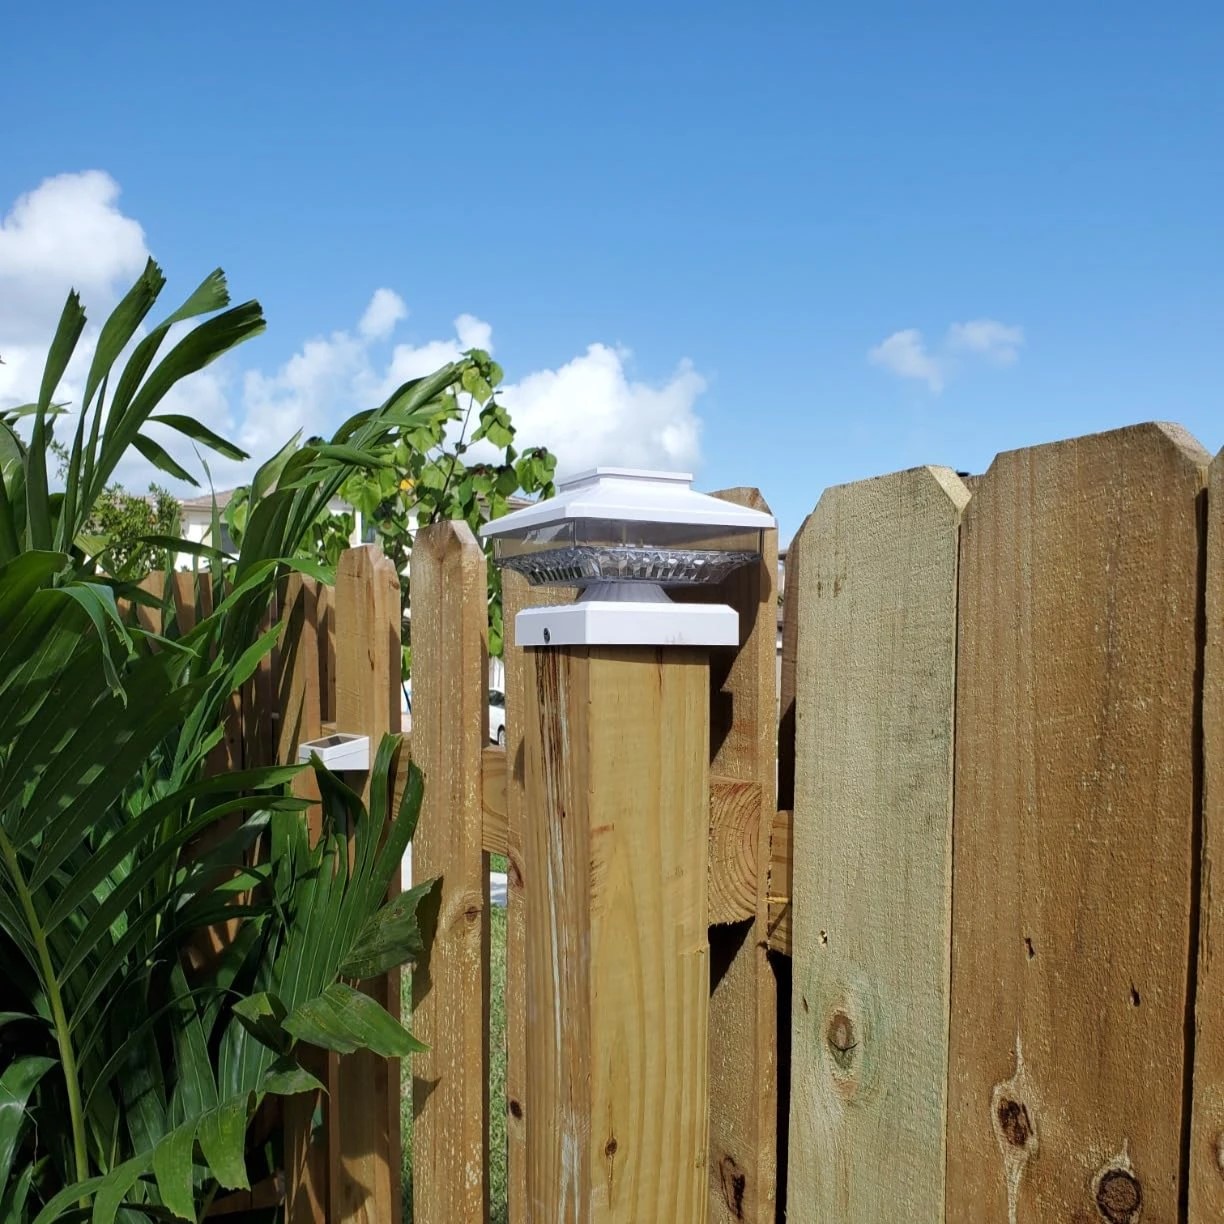
Solar deck stair lights harness sunlight to power energy-efficient LEDs, eliminating electricity costs and complex wiring. They improve safety by illuminating steps to prevent trips and falls, especially in low-light conditions. Their weather-resistant solar lights design ensures durability against rain, snow, and UV exposure, making them ideal for outdoor deck lighting. Additionally, solar-powered lights are low-maintenance and environmentally friendly, aligning with sustainable living goals.
Key benefits include:
- No wiring needed: Simplifies installation for DIY projects.
- Energy efficiency: Reduces carbon footprint and utility bills.
- Safety enhancement: Illuminates stairs for safe navigation.
- Versatile designs: Complements various deck aesthetics.
Tools and Materials Needed
To install solar deck lights like Bitpott’s Solar Step Lights, gather the following:
- Bitpott Solar Step Lights: 10-lumen output, IP67-rated, with adhesive or screw mounting options.
- Drill and bits: For screw-mounted installations.
- Screwdriver: To secure screws or adjust fittings.
- Tape measure: To ensure even spacing.
- Pencil or chalk: For marking light positions.
- Level: To align lights accurately.
- Cleaning supplies: Rubbing alcohol and cloth for surface preparation.
- Silicone sealant (optional): For extra weatherproofing.
- Ladder (if needed): For accessing higher stairs or railings.
Step-by-Step Installation Guide
Follow these steps to install solar stair lights on your deck stairs, tailored for Bitpott’s Solar Step Lights but adaptable to other brands:
Step 1: Plan Your Lighting Layout
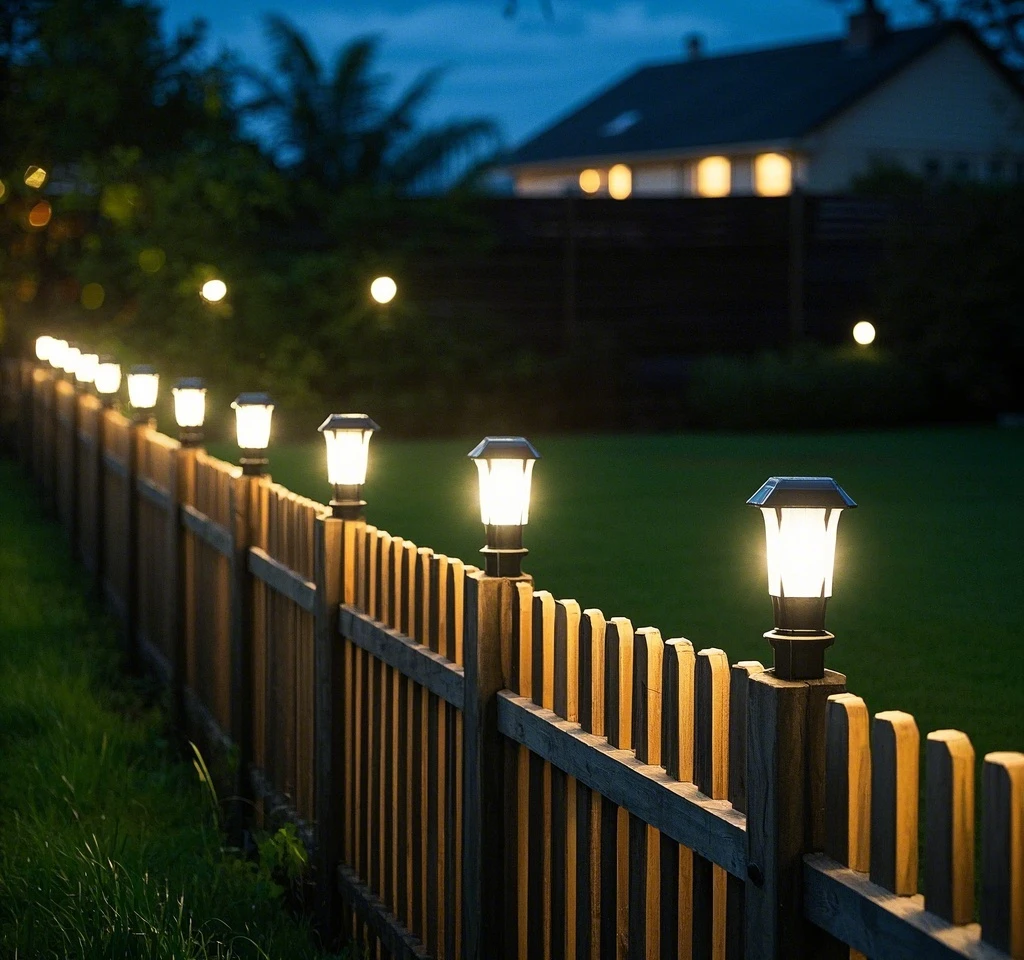
Before installing solar deck stair lights, plan their placement for optimal safety and aesthetics. Walk your deck at night to identify dark spots, focusing on stair risers or treads. For even illumination, place lights on every step or every other step, depending on your deck’s visibility and ambient lighting (e.g., nearby streetlights). Ensure solar panels will receive 6-8 hours of direct sunlight to maximize solar efficiency. Avoid shaded areas, as they can reduce charging by 50-80%.
- Tip: For Bitpott lights, aim for 10-12 inches apart on risers for balanced outdoor stair lighting. Use a tape measure to mark spots evenly.
Step 2: Prepare the Surface
Clean the installation area (stair risers, treads, or railings) with rubbing alcohol and a cloth to remove dirt, grease, or debris. A clean, dry surface ensures strong adhesion for adhesive-backed lights or secure screw mounting. For composite decks, check manufacturer guidelines to avoid warranty issues.
- Tip: For wooden decks, lightly sand rough spots to improve adhesion or screw stability.
Step 3: Mark and Measure
Use a tape measure and pencil to mark where each solar deck light will be placed. For Bitpott’s lights, align them centrally on the riser or tread of each step. Use a level to ensure straight placement, especially for multiple lights. If installing on railings, mark every 4-6 feet for balanced lighting.
- Tip: Create a template with cardstock to mark screw holes consistently, as suggested for rail lighting.
Step 4: Install the Solar Lights
Bitpott’s solar-powered stair lights offer two mounting options:
- Adhesive Mounting: Peel off the adhesive backing and press the light firmly onto the marked spot for 30 seconds. Ensure the solar panel faces upward for maximum sunlight exposure.
- Screw Mounting: Drill pilot holes at marked spots using an appropriate bit (e.g., 1/8-inch for wood). Secure the light with provided screws using a screwdriver or drill. Apply silicone sealant around the base for extra weatherproofing if desired.
- Tip: For adhesive mounts, wait 24 hours before exposing to moisture to ensure a strong bond. For screws, avoid overtightening to prevent damage to the light housing.
Step 5: Position the Solar Panel
If the solar panel is separate (some Bitpott models have integrated panels), mount it in a sunny location using a stake or adhesive. Angle the panel 20-50° toward the south (Northern Hemisphere) to optimize solar efficiency. Ensure no trees or structures block midday sun.
- Tip: Test panel placement by checking charge after a day in sunlight. Reposition if needed.
Step 6: Test and Adjust
Charge the solar deck lights for 6-10 hours in direct sunlight before first use. Switch on the lights (Bitpott’s have an underside on/off button) and test at night. Adjust positions or angles if illumination is uneven or dim. For lights with modes (e.g., steady or motion-activated), use Bitpott’s remote to select the desired setting.
- Tip: If lights are dim, clean the solar panel or move it to a sunnier spot to improve charging.
Step 7: Maintain Your Lights
Clean solar panels monthly with a damp cloth to remove dust or debris, ensuring consistent solar efficiency. Inspect for loose screws or adhesive and tighten as needed. Replace batteries (e.g., NiMH 1200mAh for Bitpott) every 2-3 years if performance declines.
Creative Placement Ideas
Beyond standard riser or tread installation, consider these creative uses for solar deck stair lights:
- Railings: Mount on stair railing posts for broader illumination, as suggested for safety lighting.
- Planter Boxes: Attach to planter edges for ambient outdoor deck lighting.
- Under Treads: Use adhesive LED strips for a modern, hidden glow under steps.
- Pathway Edges: Extend lighting to adjacent pathways for a cohesive solar-powered lights design.
Common Mistakes to Avoid
Avoid these pitfalls to ensure a successful solar stair lighting installation:
- Poor Solar Panel Placement: Placing panels in shaded areas reduces charging efficiency by up to 80%. Always choose a spot with direct sunlight, avoiding trees or eaves.
- Skipping Surface Prep: Failing to clean surfaces weakens adhesive bonds or screw stability, leading to lights detaching in harsh weather.
- Overloading with Lights: Installing too many lights on every step can create glare or overpower the ambiance. Space lights every other step for subtle outdoor stair lighting.
- Ignoring Local Codes: Some areas require stair lighting for safety. Check local building codes to ensure compliance, even if inspections are rare.
- Neglecting Maintenance: Dirty solar panels or loose fittings reduce performance. Regular cleaning and inspections prevent dimming or flickering.
- Incorrect Tool Use: Using the wrong drill bit or overtightening screws can damage lights or deck materials. Follow manufacturer guidelines for Bitpott’s solar deck lights.
- Improper Spacing: Unevenly spaced lights create an unbalanced look. Use a tape measure and level for precision.
Tips for Success
- Test Before Permanent Installation: Temporarily place solar deck stair lights to check illumination and adjust as needed before drilling or adhering.
- Combine Lighting Types: Pair solar-powered stair lights with post cap lights or under-rail strips for a layered effect, enhancing both safety and aesthetics.
- Consider Light Pollution: Position lights to minimize upward glare, protecting nocturnal wildlife and maintaining a DarkSky-friendly setup.
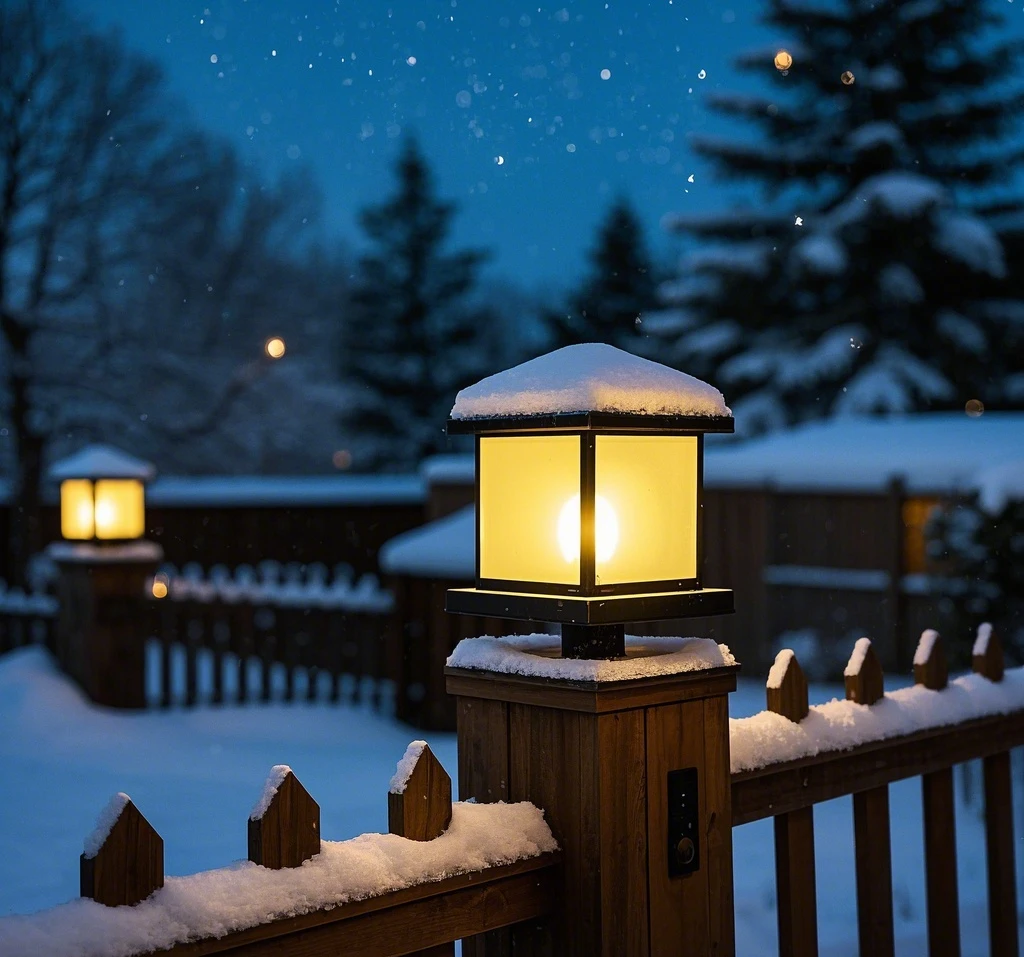
- Seasonal Adjustments: In winter, tilt solar panels to capture lower sun angles or clear snow for consistent charging.
- Choose Durable Lights: Bitpott’s IP67-rated weather-resistant solar lights withstand harsh conditions, ensuring longevity.
Environmental and Cost Benefits
Solar deck lights like Bitpott’s reduce electricity costs and environmental impact, using renewable energy to power long-lasting LEDs (25,000-50,000 hours). Their wireless design lowers installation costs compared to low-voltage systems, which require transformers and wiring. With minimal maintenance, they offer a sustainable, budget-friendly solution for outdoor deck lighting.
Where to Purchase Bitpott Solar Step Lights
Bitpott’s solar stair lights are available at:
- Amazon: Wide selection and fast shipping.
- Home Depot: In-store pickup and reliable stock.
- Bitpott’s Website: Direct purchases with warranty details.
- Walmart: Competitive pricing with customer reviews.
Conclusion
Installing solar deck stair lights is a straightforward DIY project that enhances safety and beauty on your deck. Bitpott’s Solar Step Lights, with their durable IP67 rating and easy mounting options, are an excellent choice for solar-powered stair lights. By following this guide’s steps, using the right tools, and avoiding common mistakes, you can achieve professional-looking outdoor stair lighting. Plan carefully, prioritize sunlight exposure for solar efficiency, and maintain your lights for long-term performance. Shop at trusted retailers like Amazon or Home Depot to get started on your DIY solar lighting project today.
Comments