
Solar wall lamps are an eco-friendly, cost-effective way to illuminate your outdoor spaces. Whether you’re lighting up a garden path, enhancing your home’s security, or adding ambiance to a patio, installing solar wall lights is a straightforward project that even beginners can tackle with confidence. This comprehensive guide provides step-by-step instructions, tips for choosing the best installation location, maintenance techniques, and solutions to common issues, ensuring your solar wall lamps shine brightly for years.
Why Choose Solar Wall Lamps?
Solar-powered lighting harnesses the sun’s energy, reducing electricity costs and environmental impact. These lamps are easy to install since they don’t require complex wiring, making them ideal for DIY solar projects. With advancements in solar technology, modern solar wall lamps offer reliable performance, even in less sunny conditions, and come in various designs to suit any aesthetic.
Step-by-Step Installation Guide for Solar Wall Lamps
Follow these steps to install your solar wall lamps like a professional, ensuring optimal performance and durability.
Step 1: Gather Your Tools and Materials
Before starting, ensure you have the necessary tools and components. Most solar wall light installation kits include the lamp, solar panel, mounting hardware (screws, anchors), and a user manual. You’ll also need:
- Electric drill or screwdriver
- Level
- Measuring tape
- Pencil or marker
- Ladder (if installing at height)
- Cleaning cloth (for the solar panel)
Always check the lamp’s components for damage before proceeding, as a faulty solar battery or panel can affect performance.
Step 2: Choose the Best Installation Location
Selecting the optimal placement for solar lamps is critical for maximizing energy absorption. Here’s how to pick the perfect spot:
- Sunlight Exposure: Choose a location with direct sunlight for at least 6-8 hours daily, ideally facing south in the northern hemisphere to capture maximum solar energy. Avoid areas shaded by trees, buildings, or other obstructions, especially between 9:30 AM and 3:30 PM when sunlight is strongest.
- Avoid Heat Sources: Install the lamp away from heat sources like air conditioning units, as excessive heat can reduce the solar lamp lifespan.
- Height and Accessibility: Mount the lamp at a height that provides adequate illumination (typically 6-8 feet for pathways or security lighting) and allows easy access for solar lamp maintenance.
- No Overhead Light Interference: Ensure no direct light sources, like porch lights, are above the solar panel, as they can trick the lamp’s sensor into thinking it’s daytime, preventing it from turning on.
Step 3: Mark and Prepare the Mounting Surface
Once you’ve chosen the location, mark the mounting points:
- Hold the lamp’s mounting bracket against the wall and use a pencil to mark screw holes.
- Use a level to ensure the bracket is straight, as an uneven installation can affect the lamp’s appearance and solar panel efficiency.
- If mounting on masonry or concrete, use a drill with a masonry bit to create holes for wall anchors. For wooden surfaces, you may only need screws.
Step 4: Install the Solar Wall Lamp
- Secure the mounting bracket to the wall using the provided screws and anchors. Ensure it’s firmly attached to withstand weather conditions.
- Attach the solar wall light to the bracket, following the manufacturer’s instructions. Some models snap into place, while others require additional screws.
- If the solar panel is separate from the lamp, mount it in the chosen sunny location and connect it to the lamp using the provided wiring. Ensure connections are secure to prevent power loss.
Step 5: Test and Adjust
Turn on the lamp (if it has a manual switch) and cover the solar panel to simulate nighttime. Check if the light activates. Adjust the panel’s angle if needed to optimize solar energy capture. Most panels perform best when tilted at a 30-45° angle toward the sun.
Best Practices for Choosing Installation Locations
To ensure your solar wall lamps perform at their best, consider these additional tips:
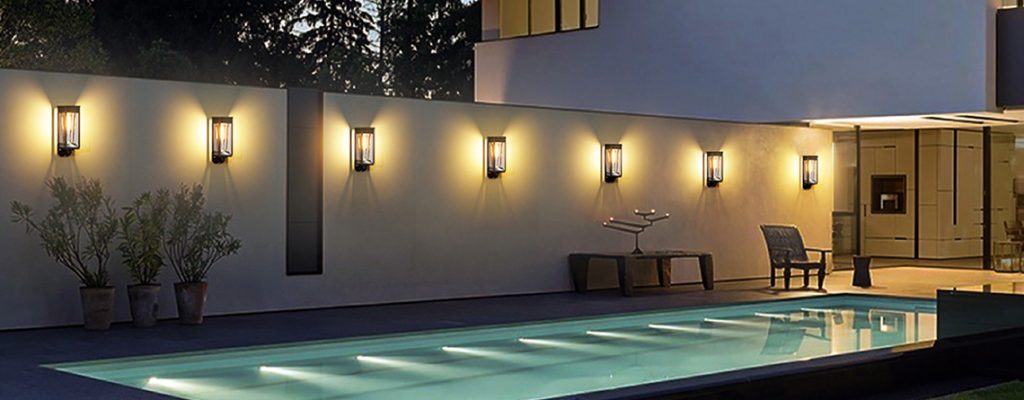
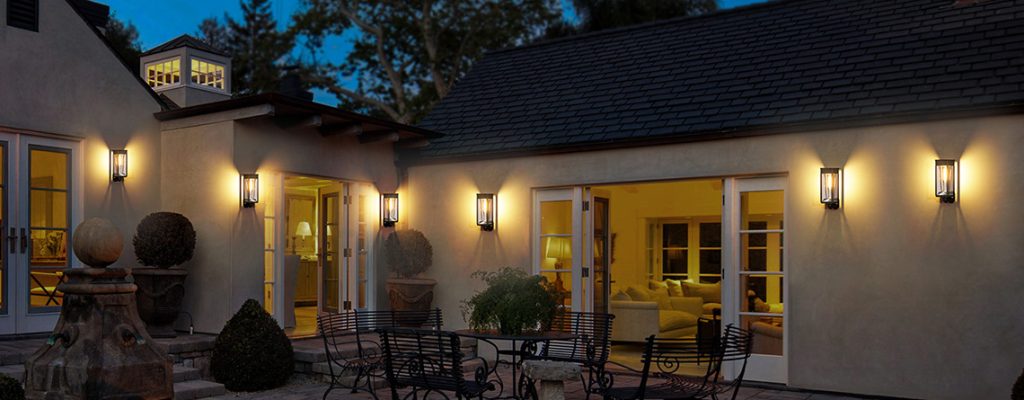
- Proximity to Pathways or Entrances: Install lamps near walkways, driveways, or doorways to enhance safety and visibility. For example, placing a lamp near your front door can improve outdoor lighting safety.
- Aesthetic Integration: Choose locations that complement your home’s exterior. Solar wall lights come in sleek, modern designs or rustic styles, so pick one that matches your decor.
- Weather Considerations: Ensure the lamp is rated for your local climate (e.g., IP65 for water resistance). In areas with heavy rain or snow, mount the lamp under eaves to protect it from excessive moisture while maintaining sunlight exposure.
Maintenance Techniques for Long-Lasting Solar Wall Lamps
Regular maintenance ensures your solar wall lights remain efficient and durable. Here are key solar lamp maintenance tips:
- Clean the Solar Panel: Dust, dirt, or snow on the solar panel can reduce efficiency. Clean it every 1-2 months with a damp cloth and mild soap. Avoid abrasive materials that could scratch the surface.
- Check the Battery: Most solar batteries last 1-2 years. If the lamp dims or doesn’t stay lit for long, replace the battery (usually a rechargeable AA or AAA). Always use the battery type specified by the manufacturer.
- Inspect for Damage: Regularly check for cracks, loose screws, or water ingress, especially after storms. Tighten any loose components and replace damaged parts promptly.
- Seasonal Adjustments: In winter, adjust the solar panel angle to capture lower-angle sunlight. Clear any snow or debris to maintain solar energy capture.
Troubleshooting Common Solar Wall Lamp Issues
Even with proper installation and maintenance, you may encounter issues. Here’s how to address common solar lamp problems:
- Lamp Doesn’t Turn On:
- Ensure the lamp is switched on (if applicable).
- Check if the solar panel is receiving enough sunlight. Relocate it if shaded.
- Inspect the battery connections or replace the battery if it’s old.
- Dim Light Output:
- Clean the solar panel to remove dirt or debris.
- Verify the battery is fully charged. If not, test on a sunny day after a full charge cycle.
- Ensure the LED bulb isn’t faulty; replace it if necessary.
- Light Stays On During the Day:
- Check for nearby light sources interfering with the sensor. Reposition the lamp or shield the sensor from artificial light.
- Short Illumination Time:
- The battery may not be charging fully due to insufficient sunlight. Adjust the panel’s position or clean it.
- Replace the battery if it’s nearing the end of its lifespan.
Unique Tips for a Professional Finish
To elevate your DIY solar project, consider these expert tips:
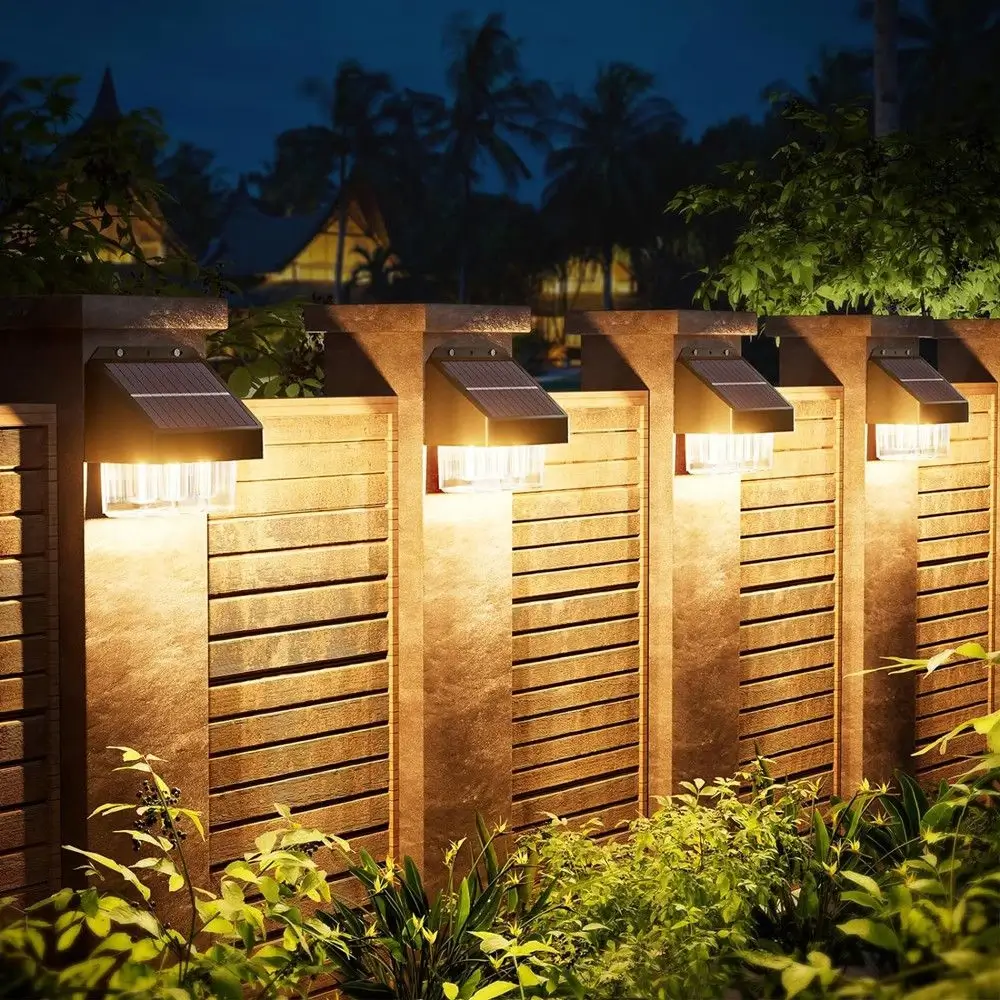
- Group Lighting for Impact: Install multiple solar wall lamps in a pattern (e.g., staggered along a fence) to create a cohesive, professional look.
- Use Motion Sensors: Opt for lamps with motion sensor lighting to save energy and enhance security. Test the sensor range during installation to ensure it covers the desired area.
- Eco-Friendly Enhancements: Pair your lamps with other solar-powered lighting solutions, like solar string lights, to create a fully sustainable outdoor lighting system.
Safety Considerations
Safety is paramount during solar wall light installation:
- Power Off: Although solar lamps don’t require electrical wiring, ensure no nearby power sources are active if drilling near outlets.
- Stable Ladder Use: Use a sturdy ladder and have someone assist you if installing at height.
- Grounding and Weatherproofing: Ensure all components are weatherproof and securely mounted to prevent damage or hazards. If your area is prone to lightning, consult a professional to add grounding measures.
Conclusion
Installing solar wall lamps is a rewarding DIY solar project that enhances your home’s functionality and sustainability. By following this step-by-step solar lamp installation guide, choosing the best installation location, maintaining your lamps, and troubleshooting common issues, you can achieve professional results with minimal effort. Embrace solar-powered lighting to save energy, reduce costs, and light up your outdoor spaces beautifully.
Comments