
Solar lights have become a staple in daily life, illuminating gardens, pathways, and homes with eco-friendly efficiency. Yet, a common issue—batteries failing to charge—can disrupt their functionality. As experts in small solar light manufacturing, we recognize that pinpointing and resolving this problem is critical to ensuring reliability and user satisfaction. This article dives into professional troubleshooting and solutions, offering practical steps to restore your solar light’s performance.

Preparing for Troubleshooting
Safety First
Before diving in, disconnect the solar light from any power source to avoid electrical risks. While small solar lights typically operate at low voltages, short circuits or mishandling can still pose hazards. Safety is non-negotiable.
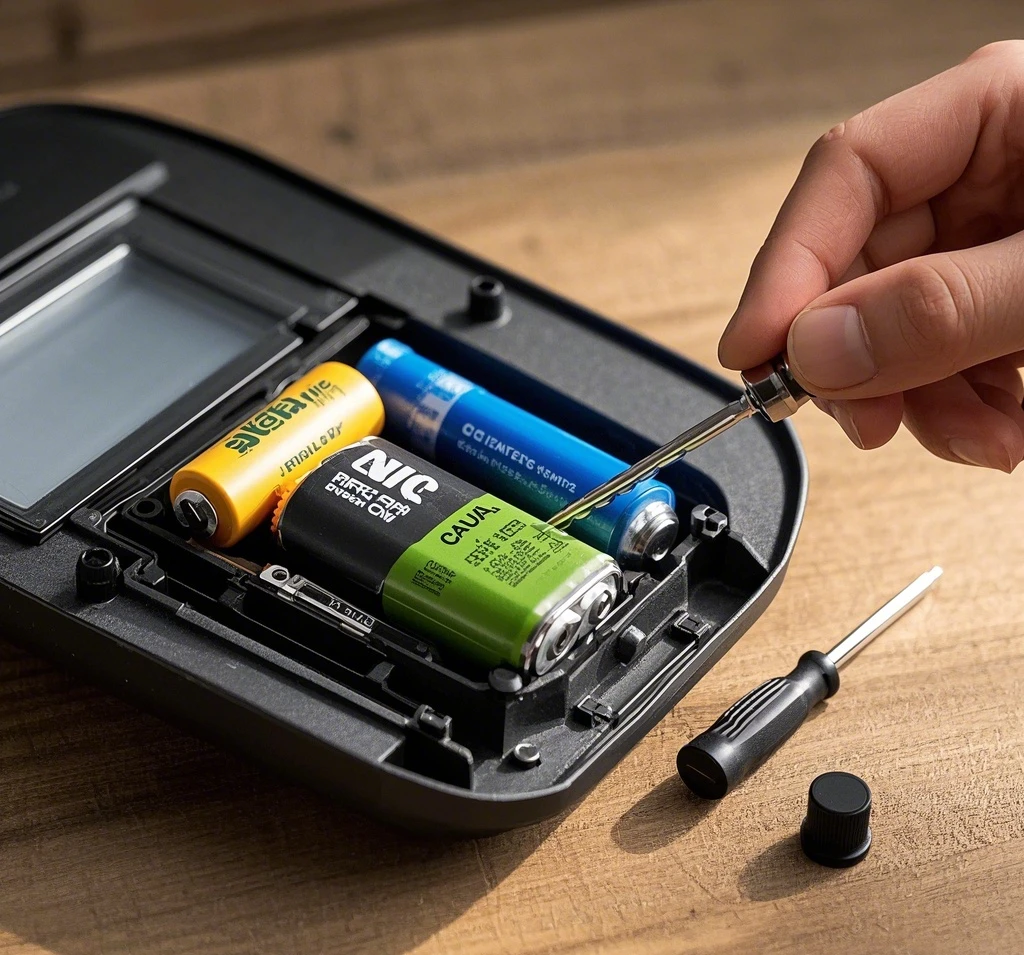
Tools You’ll Need
Gather these essentials: a multimeter (to measure voltage and resistance), a screwdriver (to access the casing), and insulating tape (to fix wiring issues). Each tool plays a key role in diagnosing and repairing the system efficiently.
Investigating Solar Panel Issues
Visual Inspection
Check the solar panel for dust, dirt, or leaves that block sunlight. Manufacturing data shows dust accumulation can reduce power output by 20%-30%. Look for scratches or cracks too—common during shipping or poor installation—which impair energy collection.
Output Voltage Test
Use a multimeter to measure the panel’s voltage under sunlight. For a 6V panel, expect 6.5V-7V in normal conditions. Low or no voltage might indicate an internal break or damaged cells. A 2023 Renewable Energy Review study notes that 15% of panel failures stem from production-line soldering defects.
Analyzing Charging Controller Failures
Controller Basics
The charging controller regulates power flow, preventing battery overcharge or deep discharge. It’s the system’s gatekeeper, ensuring stable charging.
Overheating and Odor Check
Feel the controller’s casing for excessive heat and sniff for a burnt smell—signs of component failure. Poor heat dissipation or subpar parts, often seen in budget models, can fry the internals, as observed in factory defect analyses.
Indicator Light Clues
Decode the controller’s lights: a steady green might mean charging, while a flashing red signals trouble. A dead chip or short circuit could be the culprit. Check your model’s manual for specific meanings.
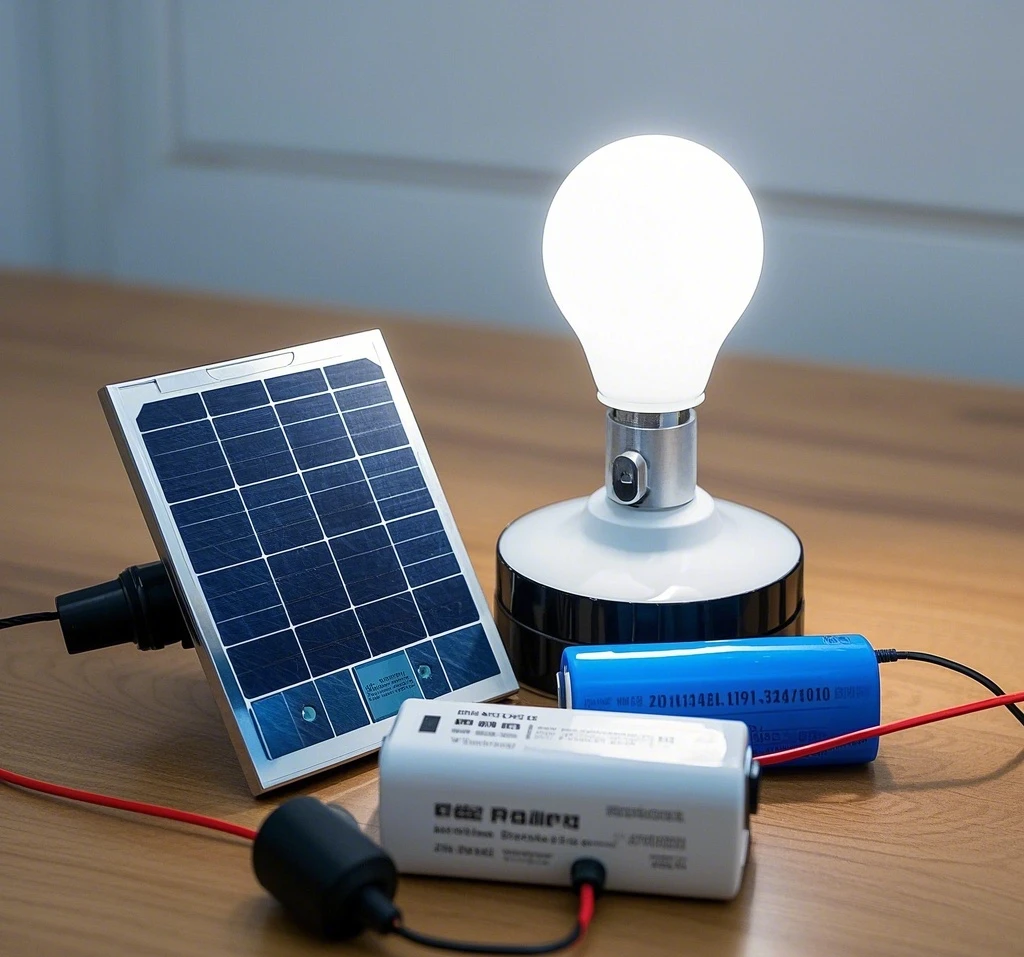
Examining Battery-Related Problems
Battery Types
Small solar lights typically use lithium-ion (high density, 1000-2000 cycles) or nickel-metal hydride (Ni-MH, 500-800 cycles, cost-effective) batteries. Each type shows distinct failure patterns.
Appearance and Connections
Inspect for bulging or leaking—signs of aging or overcharging. Rusty or loose electrodes disrupt power flow. In one Bitpott repair case, a loose terminal cut charging efficiency by 40%.
Capacity Assessment
Test capacity by comparing current runtime to the original (e.g., 10 hours new vs. 4 hours now). Lithium lasts 2-3 years, Ni-MH about 1-2, with capacity fading from overuse or age, per Journal of Power Sources (2022).
Checking Circuit Connections
Wiring Condition
Trace the lines from panel to battery and controller. Look for fraying or breaks, often at exposed spots worn by weather or tugging.
Connection Stability
Ensure plugs and terminals are secure. Loose contacts spike resistance, throttling charge flow. A field repair log showed 25% of charge failures tied to shaky connections.
Insulation Integrity
Use an insulation tester to check for leaks. Poor insulation in humid conditions can sap power, reducing charging efficiency by up to 15%, according to environmental studies.
Environmental Factors at Play
Light Exposure
Charging hinges on sunlight. Winter’s shorter days or shaded spots can slash efficiency—data shows a 30%-50% drop in low-light seasons. Repositioning is key.
Temperature Effects
High heat risks overcharging lithium batteries, while cold slows Ni-MH charging. Optimal ranges (0°C-45°C for lithium, -20°C-50°C for Ni-MH) shift performance, per battery curve analyses. Extreme climates demand adjustments.
Solutions to Get Charging Again
Fixing Solar Panels
Clean panels with a soft cloth and water; repair minor scratches with resin, or replace cracked units. Match replacements to your light’s specs (e.g., 6V, 3W).
Handling Controller Issues
Restart the controller if possible. If it’s overheated or dead, swap it out—ensure the new one matches voltage and current ratings.
Battery Fixes
Clean rusty electrodes with alcohol, tighten loose ones, or replace degraded batteries. Source from reputable vendors to match your model.
Circuit Repairs
Splice broken wires with solder, secure loose points, and wrap exposed lines with insulating tape. Use a heat gun cautiously for shrink tubing.
Environmental Adjustments
Move panels to sunnier spots. In heat, add a heatsink; in cold, insulate batteries with foam padding.
Prevention and Maintenance Tips
Proactive Checks
From a manufacturing lens, inspect monthly for wear and test performance quarterly. Early detection cuts major failures.
Daily Care
Wipe panels regularly, shield lights from harsh weather, and follow charging guidelines. Bitpott’s designs prove maintenance doubles lifespan.
Conclusion
Battery charging woes in solar lights stem from panels, controllers, batteries, wiring, or environment. This guide walks you through diagnosing and fixing each, blending professional insights with actionable steps. If DIY fails, seek expert help—but routine care keeps issues at bay, ensuring your solar lights shine reliably.
Comments